Hello Friends!
I hope you are doing well. I am here after long time with a tech blog. If you are searching about installation of wordpress from C-Panel. You are at right place.
Today we will discussed about how to install WordPress from C-Panel. I will tell you about the installation of WordPress manually step-by-step. This article will be helpful for those people who want to start their own blog.
WordPress:
Firstly, we should know about the WordPress. WordPress is a free and open-source content management system (CMS) based on PHP and MySQL. Features include a plug-in architecture and a template system. It is most associated with blogging, but supports other types of web content including more traditional mailing lists and forums, media galleries, and online stores. Used by more than 60 million websites, including 30.6% of the top 10 million websites as of April 2018, WordPress is the most popular website management system in use.
WordPress has also been used for other application domains such as pervasive display systems (PDS). If you want to start your own blog then you have to purchase domain and hosting for your blog first from any domain-hosting providers like Go Daddy or any other providers which depends on your choice. After getting the domain name and hosting, you will get C-Panel which will help you to start the process of starting your own blog. From the C-Panel you can install the CMS (content management system) for your blog according to your choice like WordPress or blogger etc.
Step by Step Installation of WordPress from C-Panel
- Open your C-Panel by using the URL yourdomainname.com/cpanel
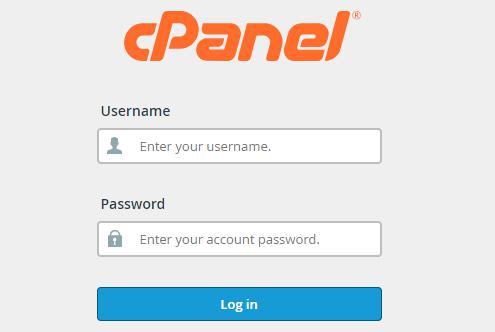
- Login to your C-Panel by using your username and password which was given to you at the time of getting your domain name and password then you will get the screen –
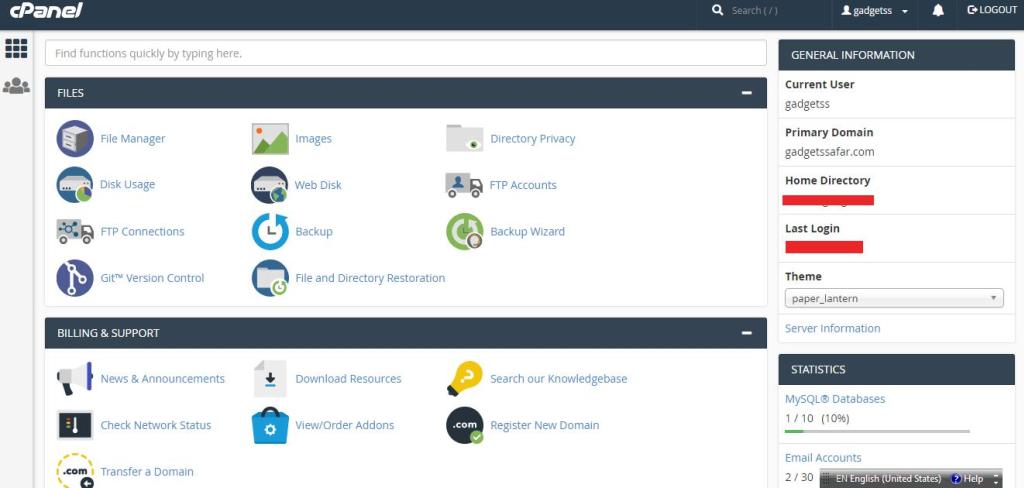
- Scroll down the screen then you will get the menu of Softaculous Apps installer –
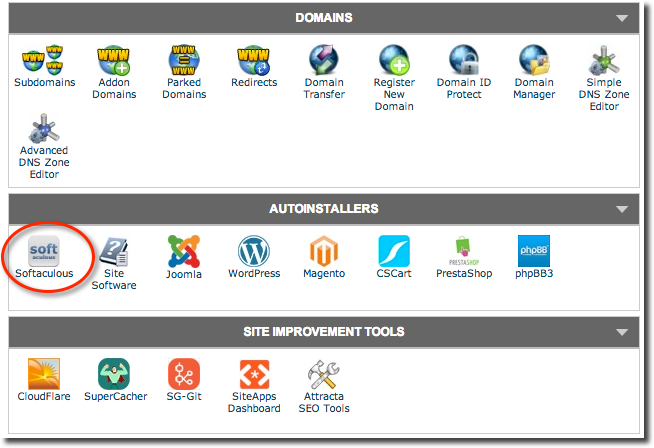
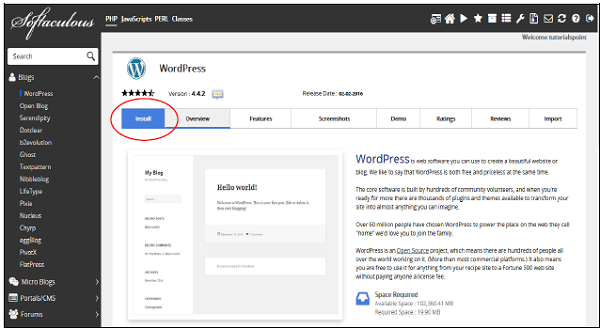
- Click on the menu of Softaculous App Installer then you will get the menu of WordPress –

- Click on the menu of WordPress then you will get the screen of WordPress installation –
- Click on the install button then WordPress will be installed and after the installation you will get the screen –
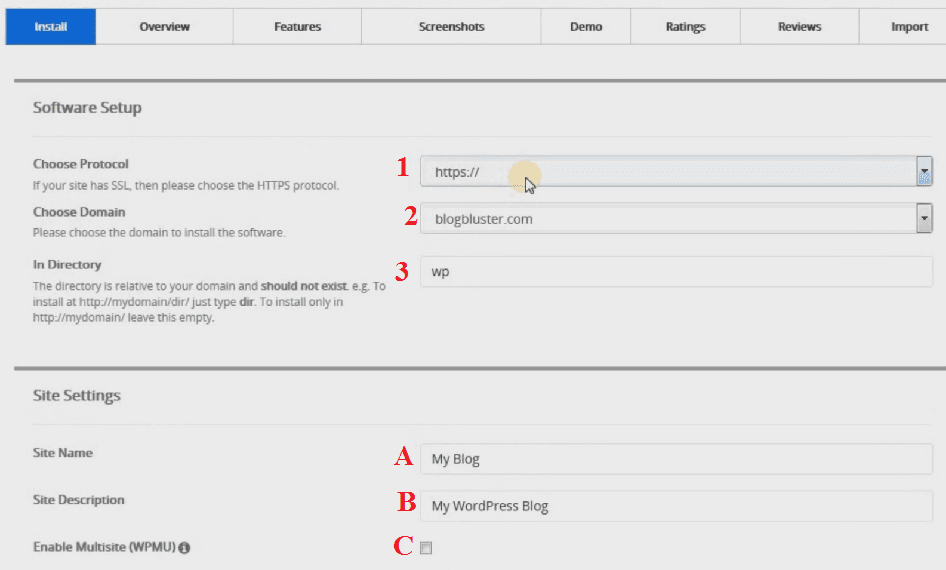
- In the above screen you have to fill the information carefully. If you do not purchase SSL for your blog then you have to choose http:// in the choose protocol option and after filling the rest of the information you will get the screen –
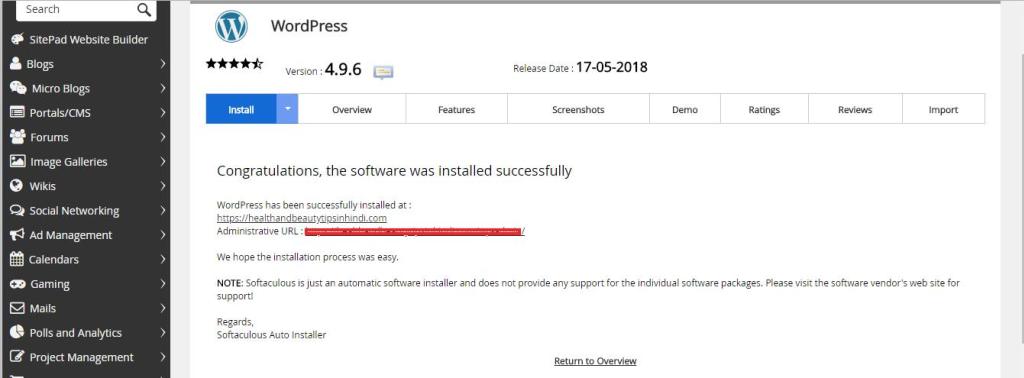
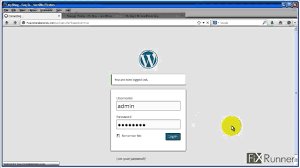
- WordPress is installed successfully. Now you can open your blog by using the URL yourdomainnname.com/username like admin or other name which you keep at the time of filling the information after the installation of WordPress.